|
Your car is like a small home. However, it may accumulate dirt more than your home since you use it to run errands. Kids’ snacks, muddy paws, coffee spills, dirt, and debris from the outside can quickly accumulate in your car. Unfortunately, you lack the time or money for a professional interior car wash. However, that doesn’t justify driving a dirty vehicle with sticky residue, snack crumbs, and pet hair all over its interior. This post explains and teaches you the basics of cleaning your own vehicle interior like a professional. Follow these steps to freshen up your vehicle’s interior and make it shine again. Requirements - What You'll NeedYou require specific products and equipment to clean your car’s interior. They include a microfibre cloth, sponge, vacuum, bucket, stiff-bristle scrub brush, spray bottle, duster, crevice cleaning tool, and disposable gloves. Remember, most household cleaners have harsh chemicals that may damage your car’s surfaces over time. For instance, they can degrade your car’s plastic surfaces, leather, and cloth materials. Therefore, dilute or avoid them when cleaning your car. Instead, use specific products for cleaning the car’s interior to protect its materials. Detailing Your Own Vehicle - A Step-by-step GuideOnce you have the necessary supplies and equipment, start cleaning your car’s interior. Follow these steps to achieve excellent results:
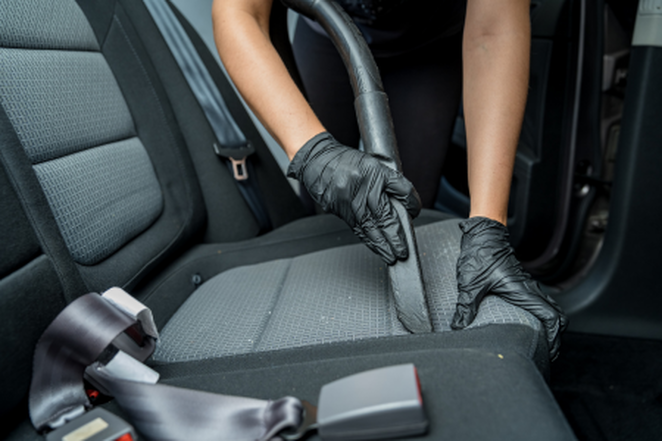
1. Clean the Floor Mats: Remove the floor mats after removing the trash. If you plan to wash the floor mats with a cleaner and water, do this early to give them time to dry. You can start by running the vacuum on them to collect the dirt embedded in them. You can use a quality upholstery or carpet cleaner if your mats are carpeted. Soak and scrub the mats with some water and this product before rinsing and hanging them to dry. Alternatively, consider machine-washing if it’s a safe option for your car mats. 2. Vacuum the Interior: Once you’re done with the mat, vacuum the interior, using the attachment for hard-to-reach areas, like the cupholders and spaces between the dashboard and windshield. Also, run the vacuum over the seats to pick sneaky crumbs and dirt. 3. Clean the Dashboard: Use a microfibre cloth or duster to clear the dashboard and vent of minor particles. Microfibers and dusters are soft, meaning they can’t scratch the vents. Also, they will capture dust without spreading it to the other parts of your car. Once you’ve removed the dust from the dashboard, kill bacteria and germs by wiping it with a disinfecting wipe. Avoid bleach-based products which can discolor the dashboard. 4. Clean the Console: Carefully remove dirt, dust, and debris from the console. Be extra cautious when cleaning the gearshift, console controls, and infotainment panel. Also, avoid ammonia-based products when cleaning the infotainment screen since they can damage it if it has an anti-fingerprint or anti-glare coating. Instead, use a lightly damp microfibre cloth to clean the touchscreen. 5. Clean the Door Panels, Steering Wheel, and Cupholders: Remove dust from the door panels, cupholders, and steering wheel. Also, disinfect these surfaces. If possible, remove cupholders and wash them with dishwashing soap and warm water. Use a soft-bristled brush or sponge to scrub them. Clean the steering wheel and door panels with disinfecting wipes. 6. Wipe the Windows and Seats: Use specific products to clean the window interiors and seats. For instance, use interior glass-cleaning products and microfibre cloths to clean the windows. For the seats, vacuum them first to remove debris and crumbs. After that, use the correct product to clean the seats, depending on their material. Most cleaning products have instructions for their use. Follow these steps and tips on how to get the best results from your very own interior auto detailing to achieve brilliant results. Also, remember to deodorize the car’s interior and keep it clean by using organizing accessories to minimize messes. Comments are closed.
|
AuthorKelowna Car Detailing Archives
February 2024
Categories |
Contact Us |
|


 RSS Feed